This site maintained by Windows Labs Administrator
Suggestions and comments about this web site: gopesh@iitk.ac.in
This page was last modified: 14 June 2016 04:15 PM
| Installation of VirtualBox and Virtual Machine on Windows 7/8/10 |
This article is useful for those who primarily use Windows but for some reason want to have a parallel Linux machine running without dual boot. This is possible through virtualization. The opposite (Windows on a virtual machine inside Linux) is also possible, though we are not discussing it here.
VirtualBox is a free software and has been reported to work well. This article provides installation and configuration steps along with screenshots.
|
| To download VirtualBox setup for installation click here. |
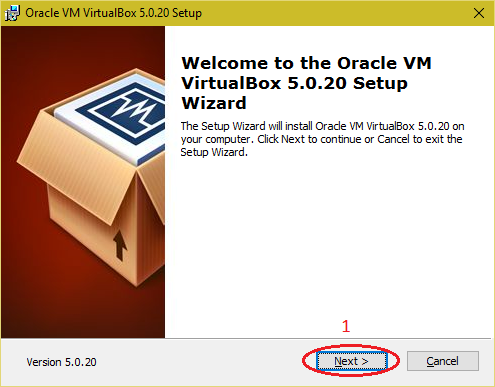
| Run the Virtual Box setup and click on "Next" button. |
 |
| Click on "Next" button. |
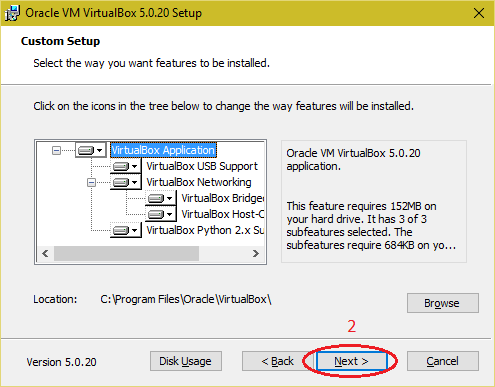 |
| Click on "Next" button. |
 |
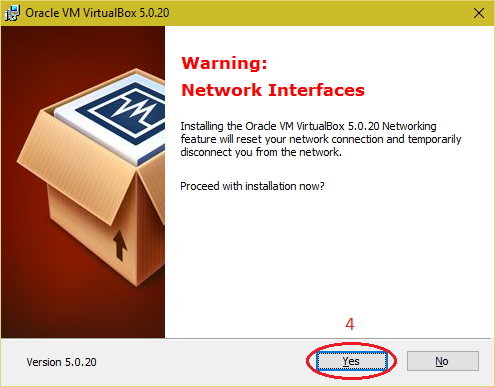
Click on "Yes" button. |
 |
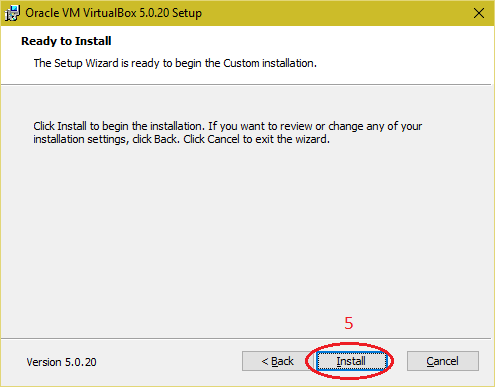
| Click on "Install" button. |
 |
| Installing "Ubuntu" as virtual machine in "Oracle VM VirtualBox". 1. Open "Oracle VM VirtualBox Manager". |
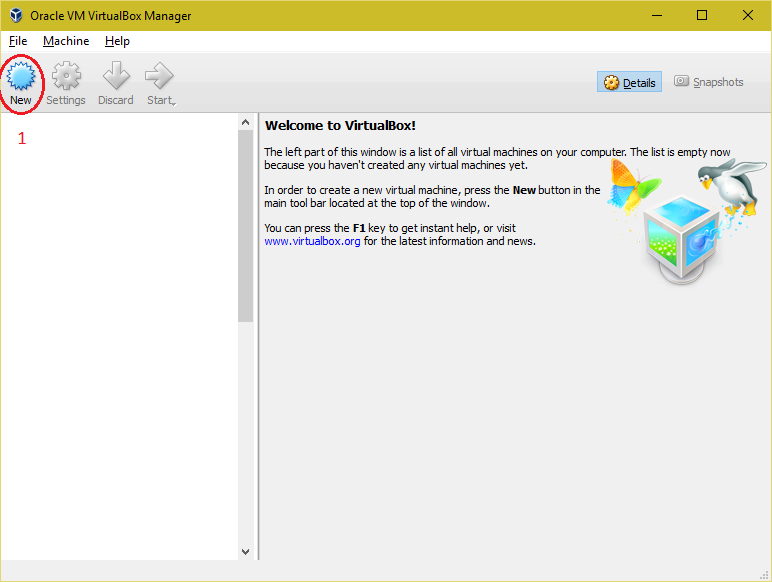 |
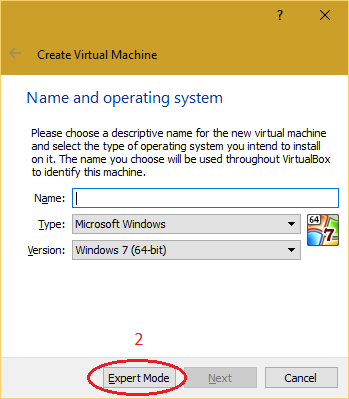
| 2. Click on "New" button and select "Expert Mode". |
 |
| 3. Provide the name and operating system information for virtual machine. |
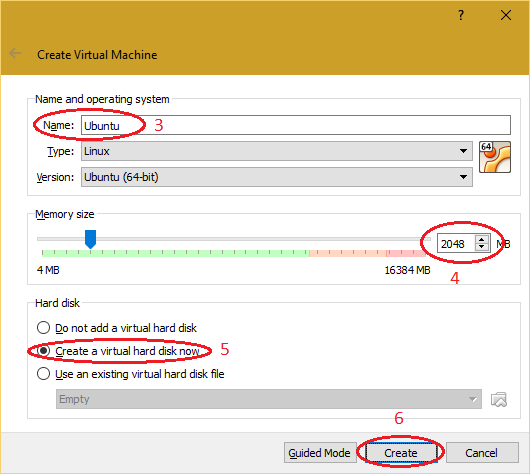
Note: Before installing 64-bit operating system, Intel VT-x/AMD-V must be enabled in "BIOS" on the system. To enable Intel VT-x/AMD-V, open BIOS and search for "Intel Virtualization Technology" or "AMD-V", save the BIOS and boot the PC/Laptop. |
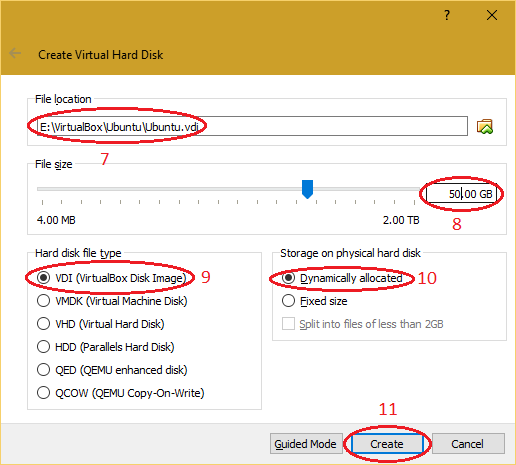
| 4. Select the path for the virtual hard disk and click on "Create" button. |
 |
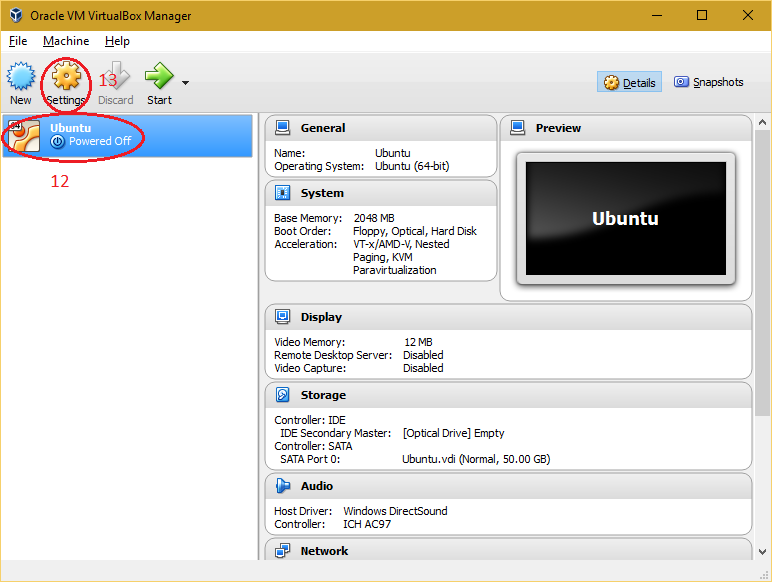
| 5. Select the virtual machine from the virtual box manager and click on "Settings" button. |
 |
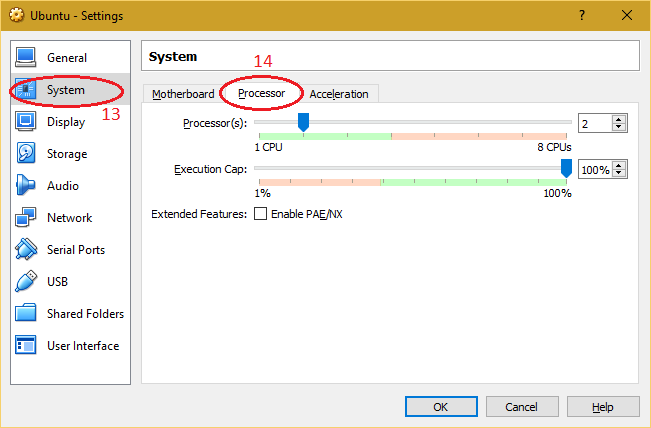
| 6. Select "System" and navigate to "Processor" tab to adjust number of processor of virtual machine for better performance. |
 |
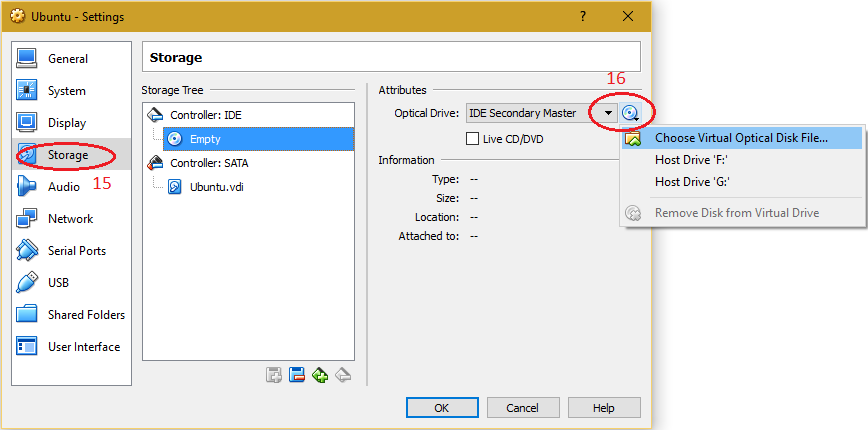
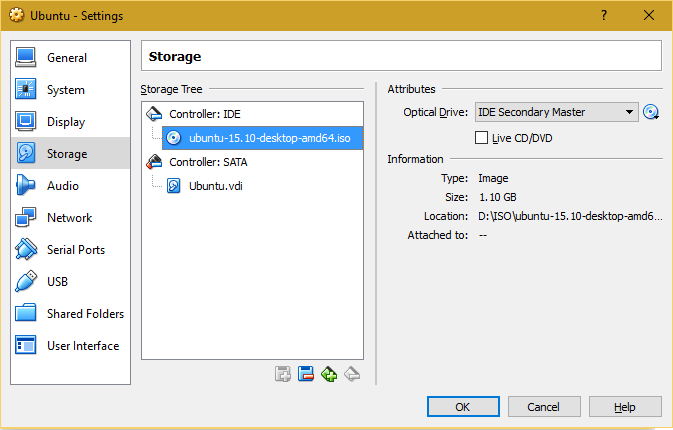
| 7. Select "Storage" and choose the installation media of Operating System (ISO/CD/DVD). Preferred Linux ".iso" can be downloaded from CC ftp site. Also many different flavours of Linux are available on the internet - Fedora, CentOS, Ubuntu, Debian, Mageia, openSUSE, Arch Linux, Slackware Linux, etc. |
 |
 |
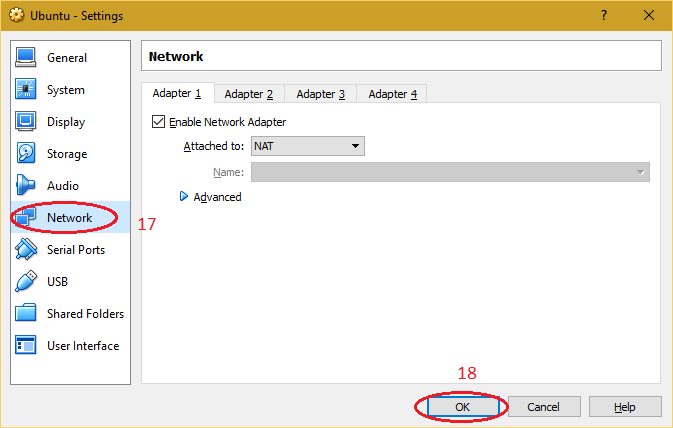
| 8. Select "Network" to make changes required for network setting of virtual machine and click on "OK |
 |
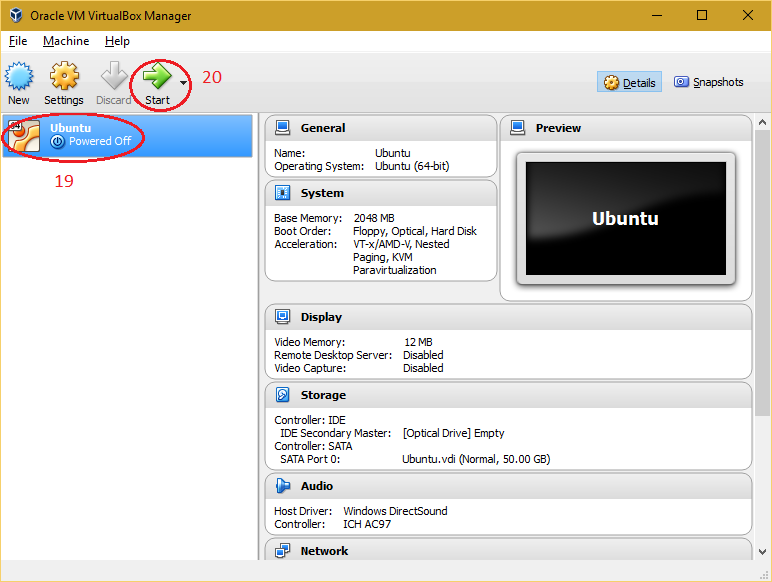
| 9. Select the created virtual machine and click on "Start" button. |
 |
| 10. Proceed with the installation of operating system in virtual machine. |
 |
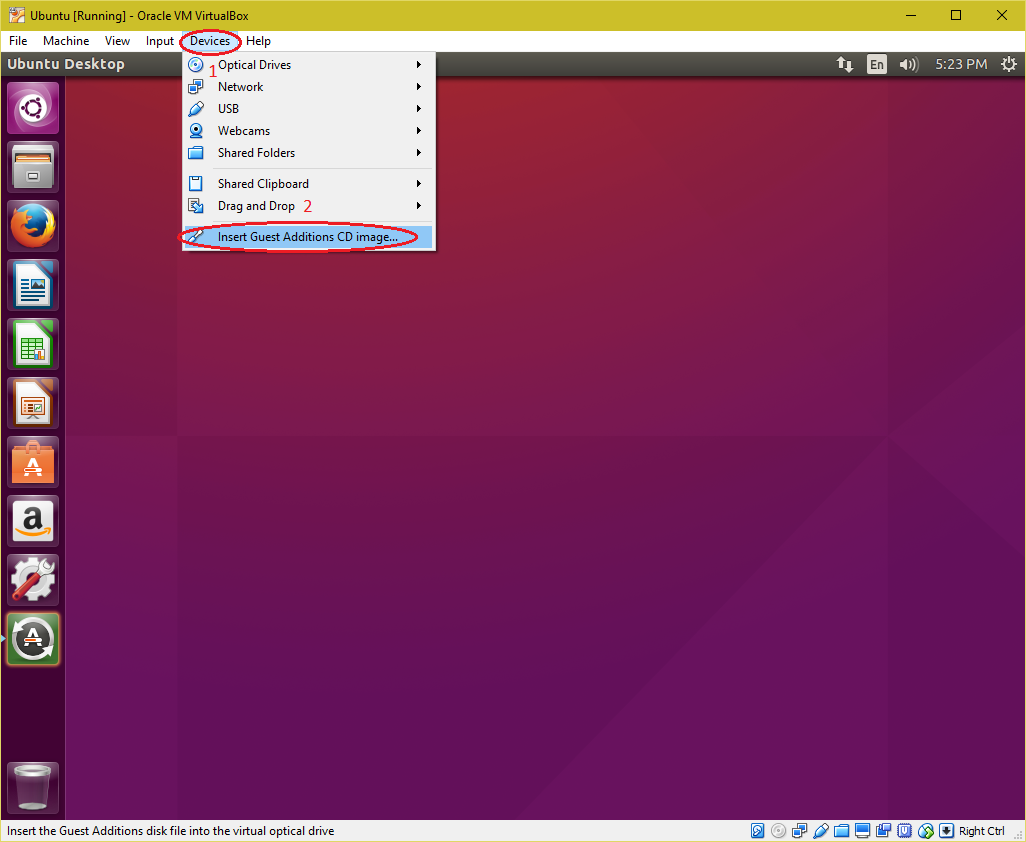
| Installing "Guest Additions CD image" in Ubuntu virtual machine. 1. Login to user account on Ubuntu virtual machine. Select "Device > Insert Guest Addition CD image". |
 |
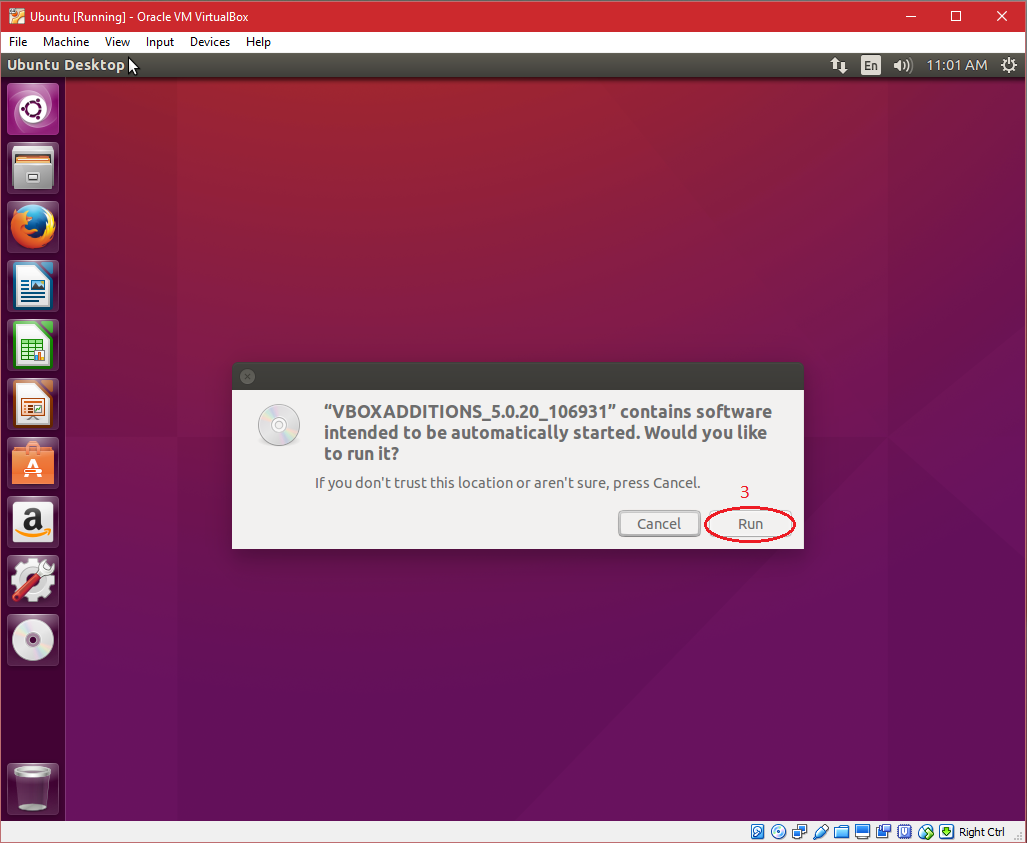
| 2. Click "Run" to install "Guest Additions". |
 |
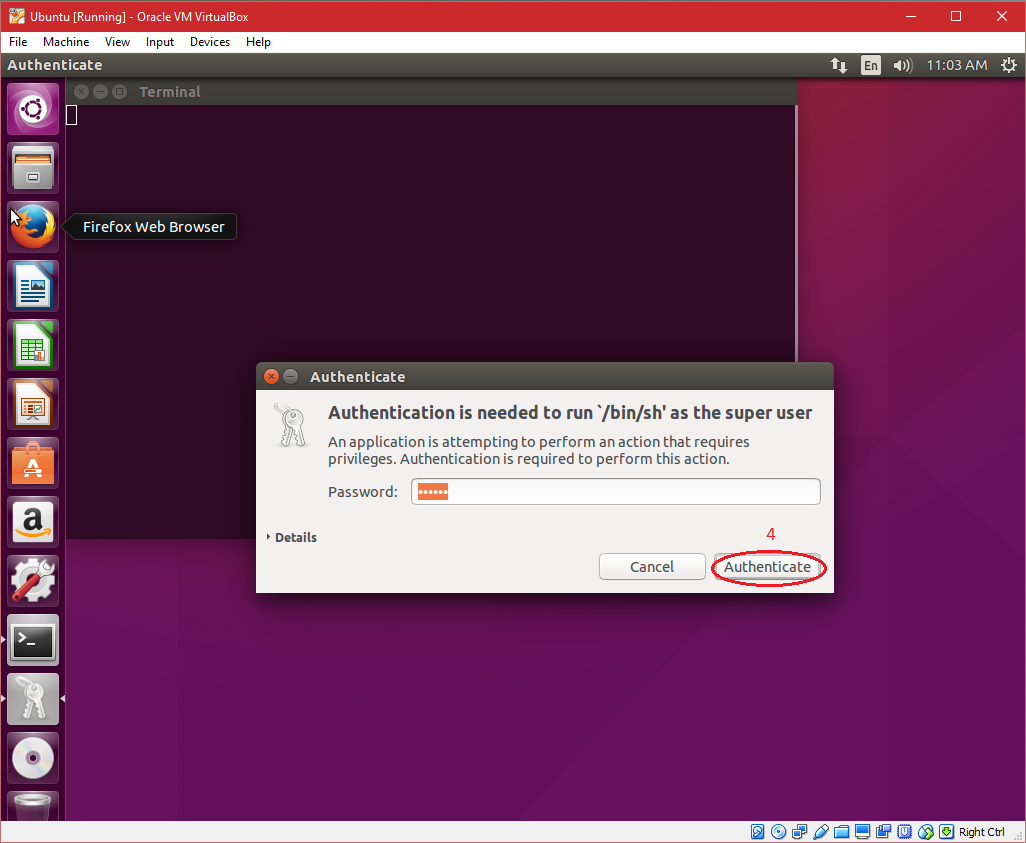
| 3. Input the authentication of super user and click on "Authenticate". After completing installtion "Reboot" the virtual machine. |
 |
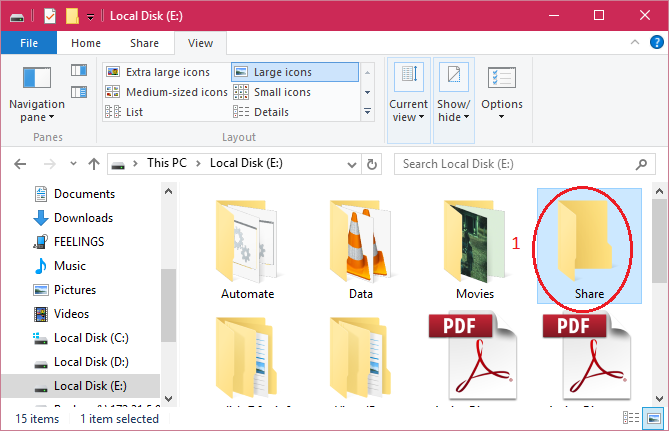
| Enable "Shared Folder" between host os (i.e. Windows OS) and guest os (i.e. Ubuntu). Note: Before continuing, shutdown the virtual machine. 1. Create a folder on host os (i.e. on Windows) with any name "Share" on any drive having suffecient available space. |
 |
| 2. Select the virtual machine in "Oracle VM VirtualBox Manager" and click on "Settings". |
 |
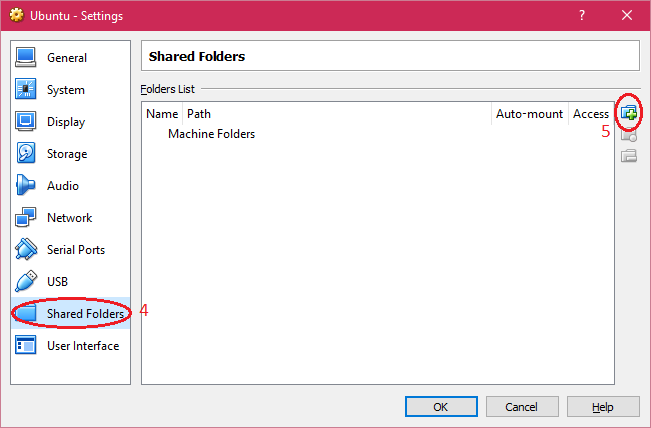
| 3. Select "Shared Folders" and click on "+" to add a shared folder to virtual machine. |
 |
| 4. Enter the "Folder Path, Folder Name" and select "Auto-mount" and click on "OK" button. |
 |
 |
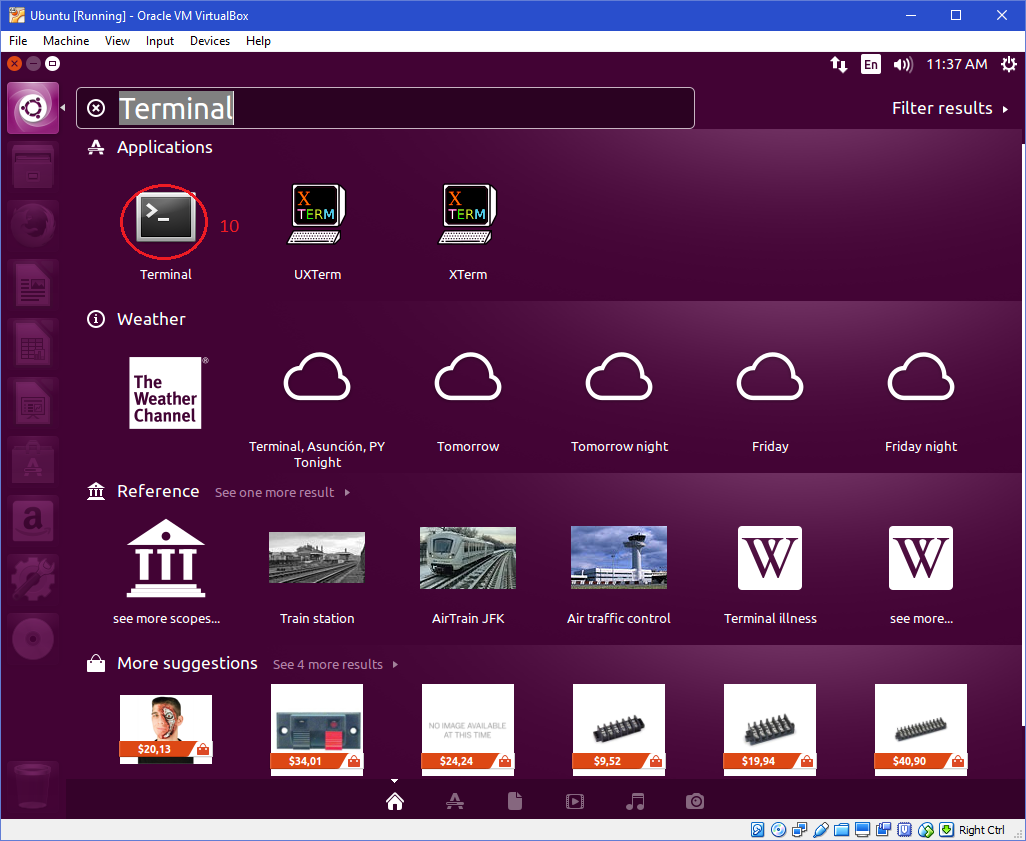
| 5. Power on the virtual machine and open "Terminal". |
 |
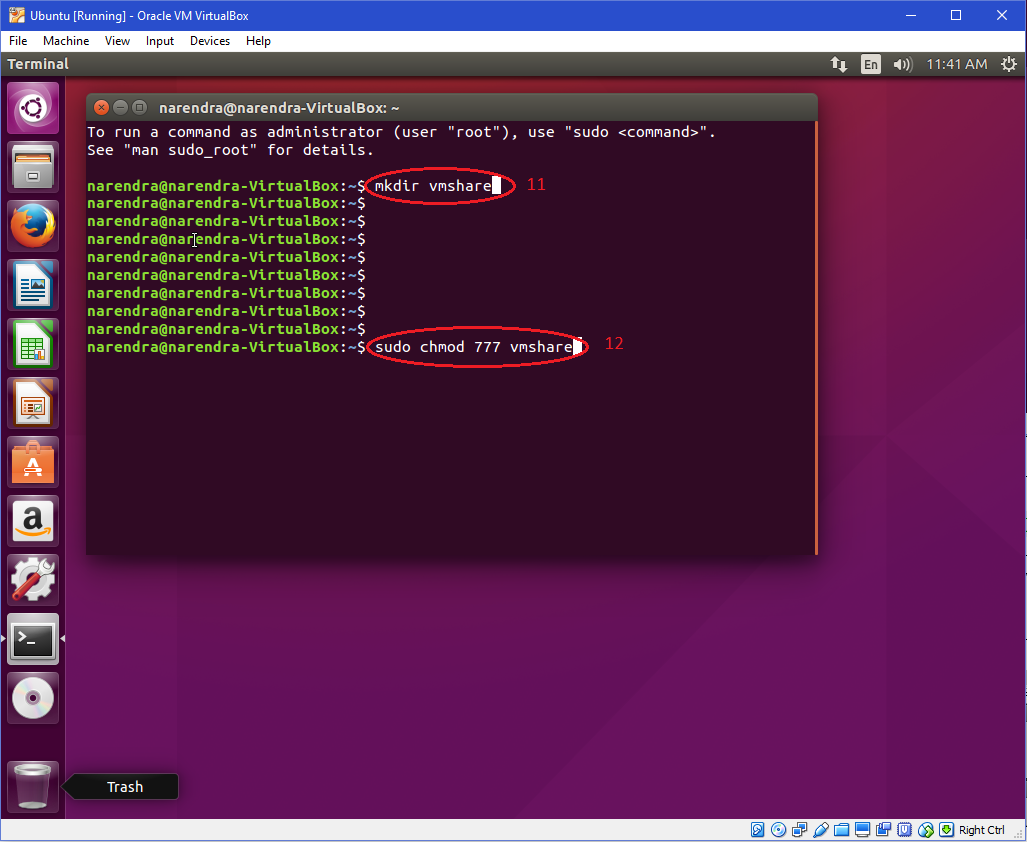
| 6. Run the following commands in"Terminal" "mkdir vmshare" where vmshare is the mount point for Shared Folder. "sudo chmod 777 vmshare" |
 |
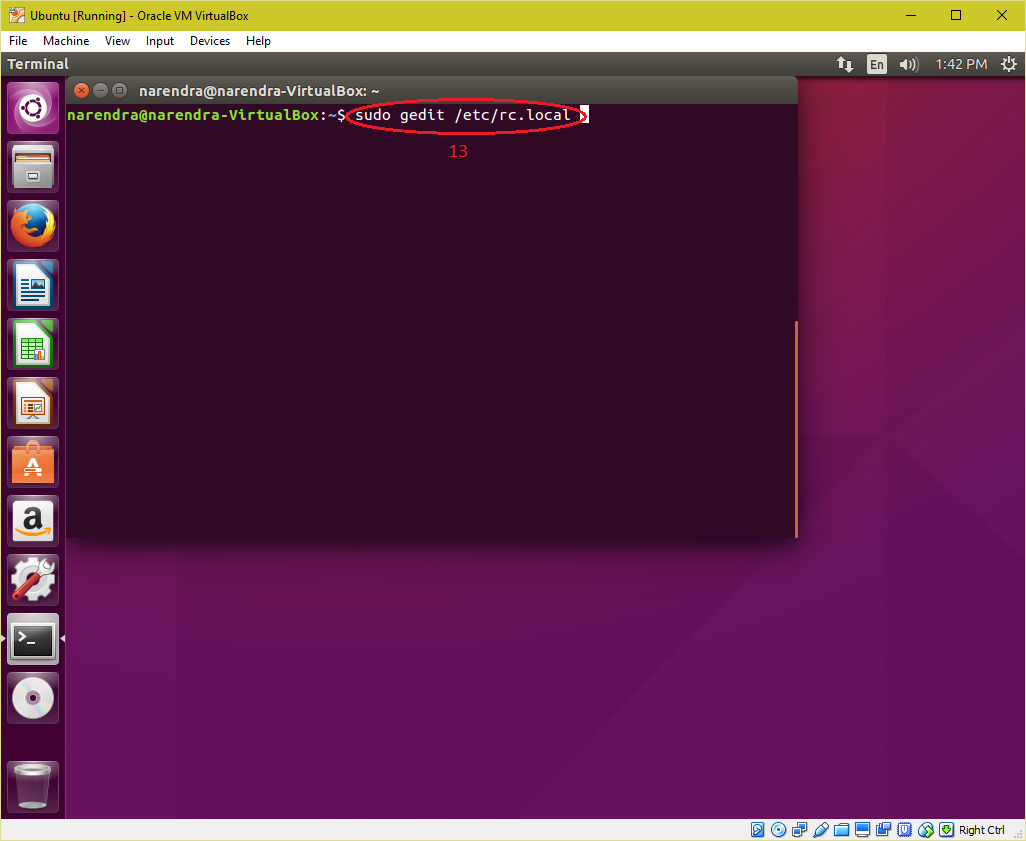
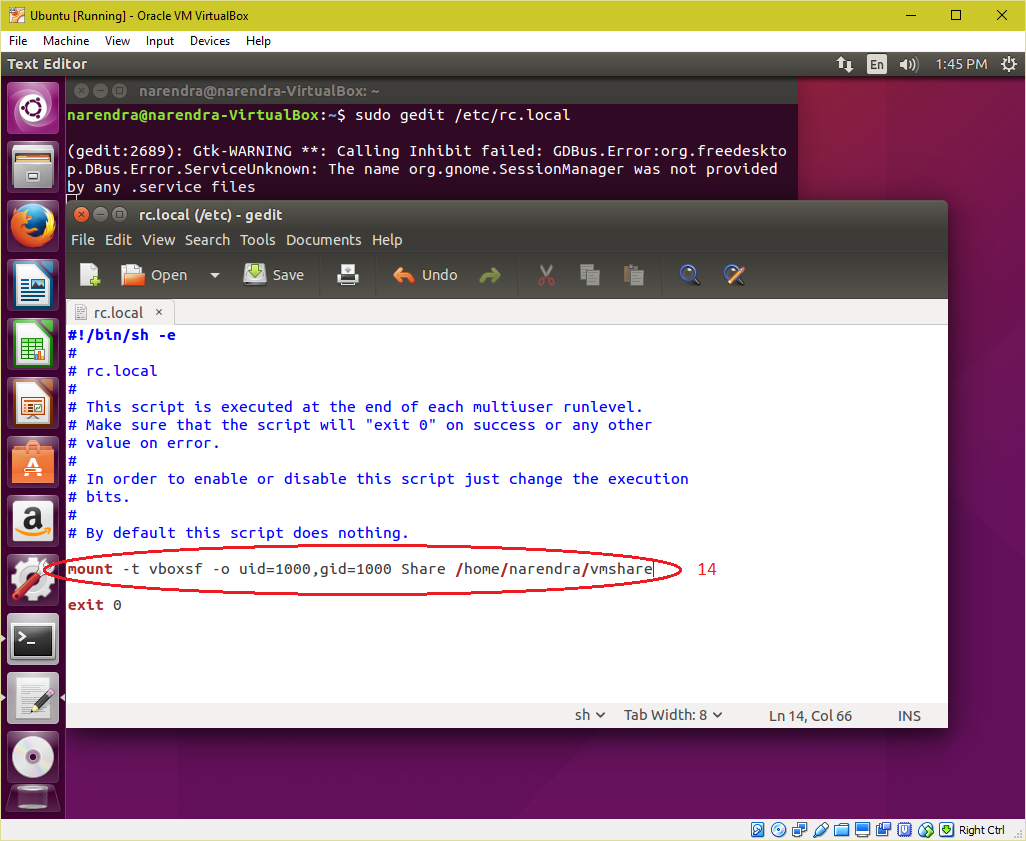
| 7. Append a line in "/etc/rc.local" file to automount the "Shared Folder" on every boot. mount -t vboxsf -o uid=1000,gid=1000 Share /home/<Your User Name>/vmshare Save the file and reboot the virtual machine. |
 |
 |
 |