This site maintained by Windows Labs Administrator
Suggestions and comments about this web site: gopesh@iitk.ac.in
This page was last modified: 31 Jan 2018 05:46 PM
| Procedure to install Maple 18 in Microsoft Windows |
Note for download: Chromium based browsers (Chrome, Edge to name a few) have stopped support for FTP protocol. Please use any non-chromium based browser like Internet Explorer or Firefox to download any software from this page. |
| The procedure below explain how to installation Maple 18 in Microsoft Windows 7/8/10 Operating System. The Maple 18 software is available for download from CC ftp site. To download Maple 18 Click Here. |
| Run the Maple 18 installer ("Maple18WindowsX64Installer.exe") and click on "Next" button. |
 |
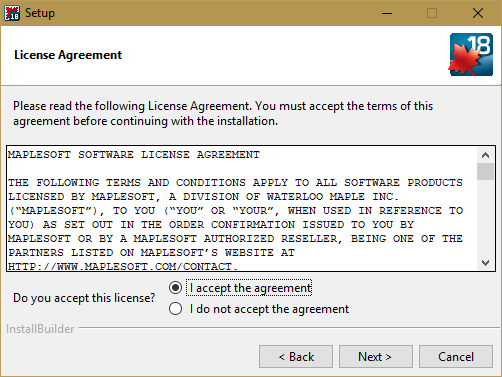
| Select "I accept the agreement" of Maple 18 and click on "Next" button |
 |
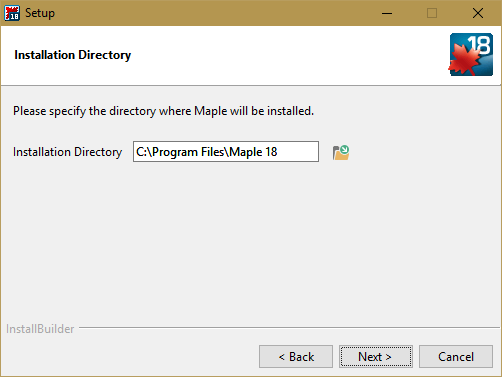
| Specify the installation folder of Maple 18 (Default folder is recommended) and click on "Next" button. |
 |
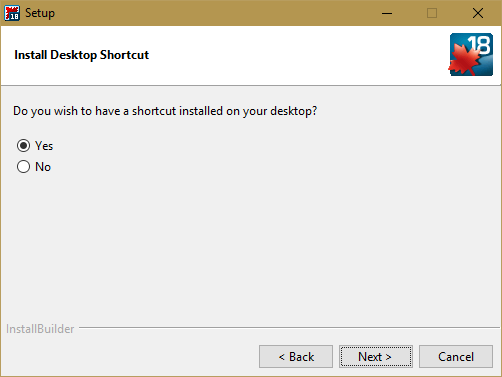
| Select "Yes" to create shortcut of Maple 18 on Desktop and click on "Next" button. |
 |
Select the Matlab installation if required and click "Next" button. |
 |
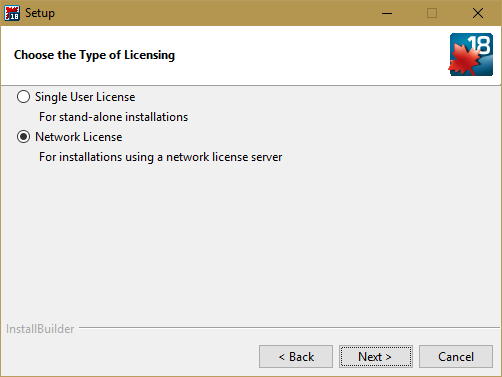
Choose the Type of Licensing as "Network License" and click "Next" button. |
 |
| Select "Single Server" and click "Next" button. |
 |
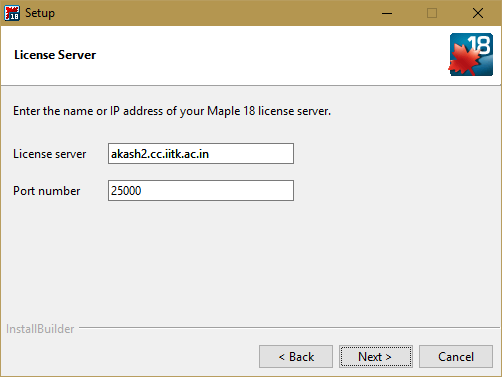
| Specify the License server detail and port number
(License Server: akash2.cc.iitk.ac.in and Port No. 25000) and click "Next" button. Note: To Run Maple 18, Campus Network connectivity in required. Add DNS Suffixes if IP address is "Static". To configure DNS Suffixes Click Here |
 |
| Select options if required and click "Next" button. |
 |
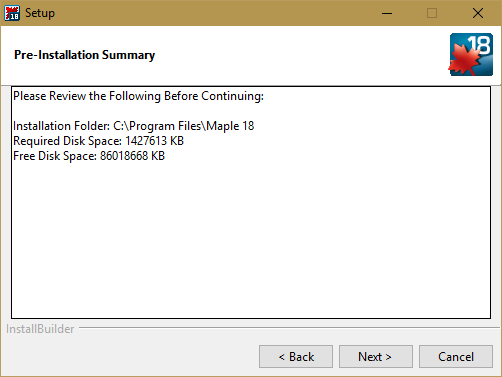
| Click "Next" button to continiue the Maple 18 installation. |
 |
 |
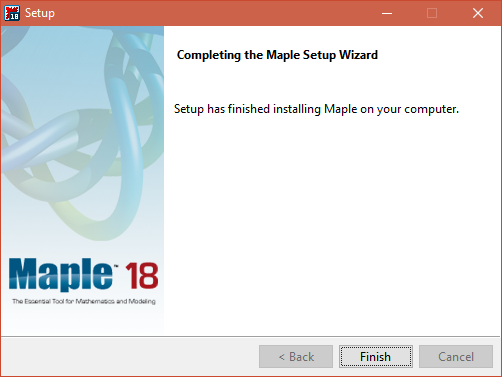
| Click "Finish" button. |
 |